I’ve not been very fond of sambaar, especially the ones served in restaurants, which seem to serve something quite ghastly. My husband, on the other hand, loves it.
In traditional TamBrahm households, each meal typically consisted of three courses of rice. Course one, sambaar with rice, course two, rasam with rice, and course three, curd with rice. Every course has its share of accompaniments (poriyals, pachidis, pickles, appalam etc).
That’s all great during wedding festivities, when there’s an army of cooks to prepare (and serve) such elaborate meals. And of course, one must earn the right to enjoy such meals through intense calorie-burning activities.
In our mostly sedentary modern city life, so many courses and elaborate meals are both unnecessary and impractical. My mother adopted a very practical approach: two courses and one vegetable accompaniment. She’d make rasam (which I always preferred over sambaar), and include the lentils in it. Thakkali sambaar (tomato sambaar) we’d always tease her. The second course remained the universally enjoyable thayir saadam (curd-rice).
The Family Sambaar Recipe
I never learned to make rasam or sambaar (or any dish, for that matter) before I got married. It wasn’t for lack of trying on my mother’s part, but rather my rebellion at being forced to learn “womanly” skills to be eligible for marriage. Fortunately for me, I did find the most suitable husband who knows how to cook! So I learned to cook mostly from him and his parents. Unfortunately, he also loves sambaar, and being a North Indian, has no idea how it’s made!
Over the years, I’ve attempted to make sambaar at home with varying degrees of failure. Each time I’d call my mother to ask for her recipe and note it down somewhere, only to misplace it and call her again the next time.
My latest attempt, however, seemed moderately successful. And funnily, it seemed like an absolute breeze, which convinced me to make it more often. So, this time, I’m saving the recipe here for ready reference.
Step 1: The Sambaar Podi
The key to sambaar lies in the powdered spice mixture, aka the podi. Once ground, the batch lasts a surprisingly long time. Given how infrequently I make sambaar, my batch has easily lasted a few years, but I wouldn’t recommend keeping it around for that long!
“Take note of the order of these items and it will be easier to remember the proportions,” my mother advised.
“One of Urad,
Three-quarters of Toor,
Half of Chana daal,
Half the quantity of Chana daal for Pepper, and
Half the quantity of Pepper for Methi.
Take three of Dhania.
Roast everything, cool and grind to a powder.
One spoon of sambaar podi is half this powder and half red chilli powder.”
Sambaar powders available in the market typically include red chilli powder. But my mother’s sambaar powder skips it so that she can reuse the same mix for both rasam and sambaar! In our household, it helps to not add red chillis so that we can tweak the spice level for my in-laws who aren’t comfortable with red chilli powder.
Here’s a detailed table with the proportions and ingredients.
| Proportion | Item (Tamil) | Item (Hindi) | Item (English) |
|---|---|---|---|
| 3 | Kotthamalli Vithai | Sabut Dhania | Coriander seeds |
| 1 | Ulanthu | Dhuli Urad | Skinned Black Gram |
| 3/4 | Thauram paruppu | Arhar daal | Split Pigeon Pea |
| 1/2 | Kadalai paruppu | Chana daal | Split Chickpeas / Bengal Gram |
| 1/4 | Milagu | Kaali Mirch | Black Pepper |
| 1/8 | Venthiyam | Methi | Fenugreek |
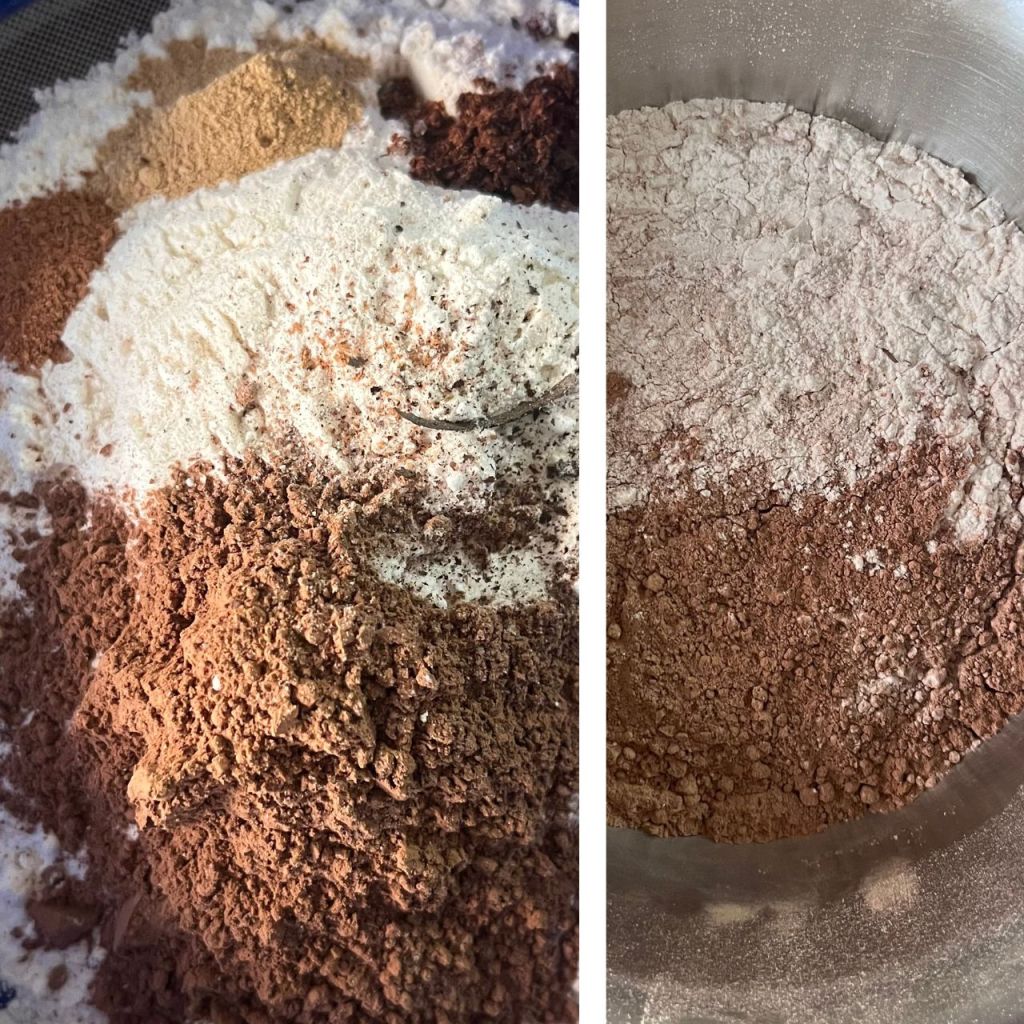
The sambaar podi is as simple as roasting these items till they are aromatic, and then grinding them to a powder. Store for use later.
Step 2: Prep the Elements of Sambaar
The essential elements of sambaar are (for 1 litre):
- Arhar / Toor daal (3/4 cup)
- Tamarind water (use 1 medium-sized lemon a reference for the quantity of tamarind)
- One vegetable (aka the taan). Potatoes, Moringa, Capsicum, Okra, Eggplant, Ash Gourd, Radish. Anything goes. Heck, if you like the restaurant variety, use beans, carrots and onions. Just don’t serve that to me.
- The spices (1/2 spoon of sambaar podi, 1/2 spoon of red chilli powder, a pinch of asafoetida, a sprig of fresh curry leaves)
- The Thalippu / Tadka (1/2 spoon mustard seeds, 1-2 dried red chillis)
The key to making sambaar fast is multitasking. Let the multiple gas burners do the heavy lifting by simultaneously doing the following:
- Pressure cook the Toor daal with a little turmeric powder.
- If the cooker is big enough, you can place the hard vegetables in the same cooker. For soft veggies that cook easily, pressure cooking may be a bit too much. You can add those in later.
- Boil the tamarind in water for a bit and let it cool.
With everything already partially cooking, and while you’re waiting for the tamarind water to cool, you’re free to prep any other dish, or perhaps do the dishes, or just take a little nap.
Step 3: Bring Everything Together
- Once the tamarind water has cooled enough so that you can touch it, extract the juice/pulp and remove the rind and seeds, if any. Mash with your fingers or use a spoon and a sieve.
- To the tamarind water, add the sambaar podi, red chilli powder and a pinch of asafoetida. Boil this solution for a couple of minutes.
- If your vegetables haven’t yet been cooked, add them to the tamarind water and cook them.
- Once the vegetables are cooked, add the cooked toor daal (with the water). The daal already has turmeric, so no need to add that in.
- Add salt.
- Pinch/crush fresh curry leaves with your fingers and add them in right at the end.
- Finish the sambaar with the sizzling, satisfying sound of the tadka: Heat 1-2 spoons of oil/ghee and add the mustard seeds and dried red chillis. Once the seeds crackle, add them to the sambaar.
And that’s it! Making sambaar involves several components, but proper planning makes it an easy dish to prepare.
Bonus Recipe: Rasam
Rasam is typically a thin, almost clear soup. The steps for a regular rasam are very similar to those of sambaar. The key differences:
- Instead of vegetables, we add tomatoes (usually cut into quarters).
- Instead of adding red chilli powder, we add black pepper powder and cumin powder. So, along with the sambaar podi, my mother keeps a separate powdered mix of black pepper and cumin.
- Instead of using the entire cooked toor daal, use only the water of the daal. That’s the “proper” way. But if rasam is your only protein source, as was the case in our household, just go ahead and add the whole cooked daal and make a thicker rasam.
- Instead of curry leaves, use fresh coriander leaves.
Every family has their version of the sambaar and rasam podis. And of course, there are variations of each dish too. Depending on what vegetables go in the sambaar, the recipe changes a little. The most notable one being a special fresh coconut-based bitter gourd sambaar.
Then there’s melagu rasam or milagu tanni (which the British famously appropriated as mulligatawny), which is a spicier variation (and for me, an absolutely soothing one!) There’s also a tamarind-free lemon rasam. Of course, I don’t know how to make any of these, but in my journey to learn our culinary heritage, I’ll hopefully get there soon. Let’s make one recipe at a time.