Categories
Hobbies

A Merry “Kishmish” Cake


We’ve always hacked our way into baking a cake. We didn’t have an oven and I was trying to avoid using refined flour. So, our experiments in cake-baking have been mixed, often ad-libbing and freestyling the ingredients. I learned the hard way that not all recipes were that flexible. So, this time, I decided to follow a recipe that I’ve wanted to try for a long time—the traditional Christmas Cake.

We had a new air fryer and I decided to cave in and use refined flour and white sugar. It’s still eggless, though!

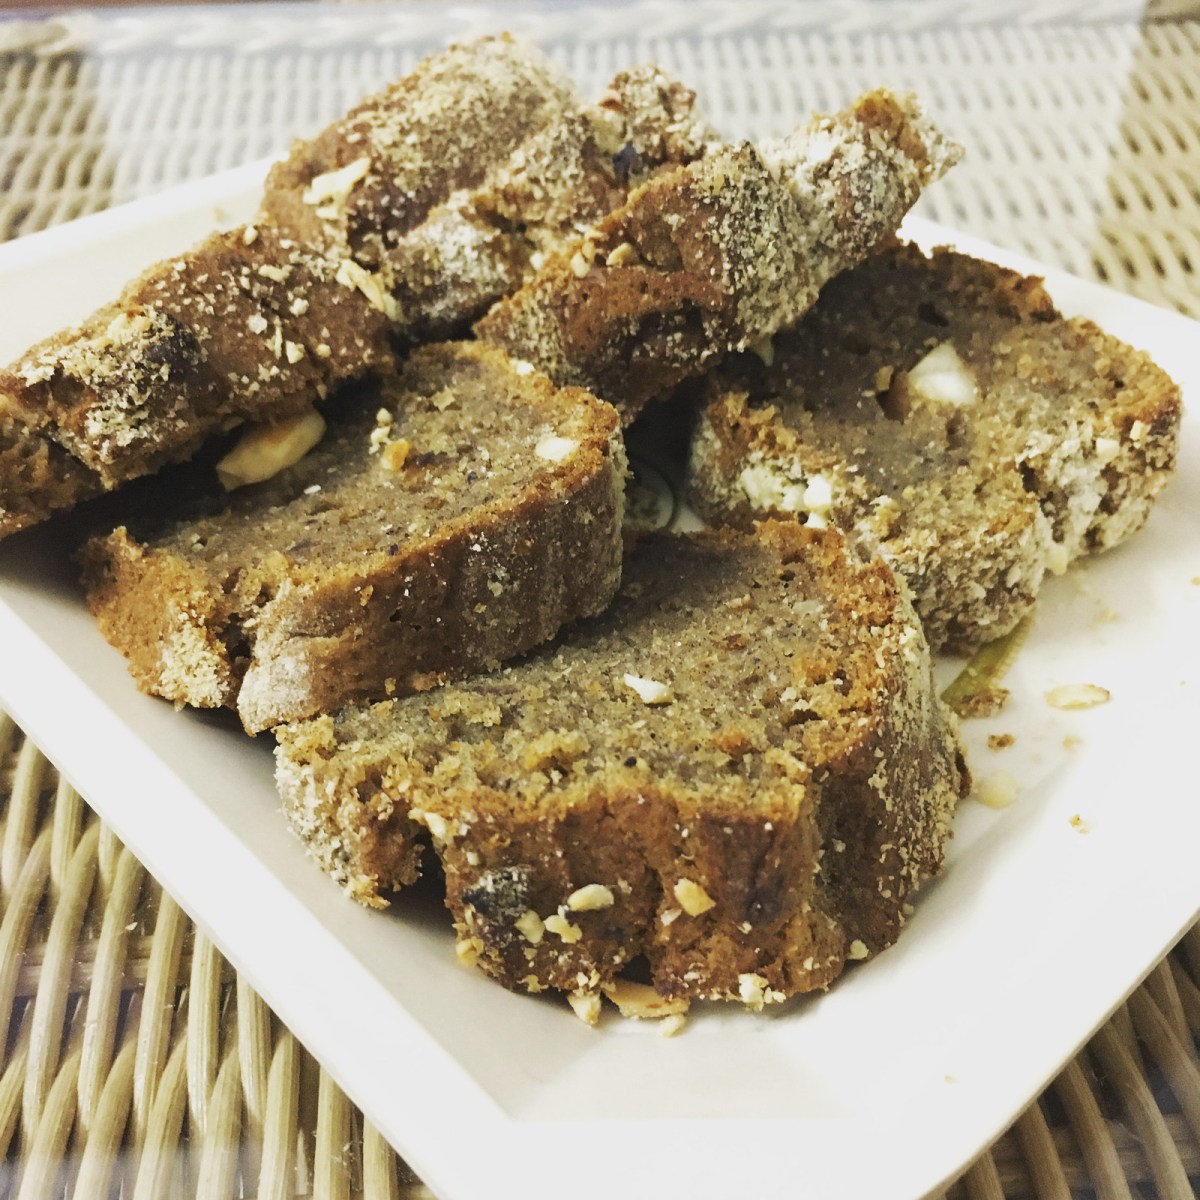
I’ve tried this recipe twice now, and the second time, I substituted half of the refined flour with whole wheat flour. This second cake was a bit more crumbly and we could taste the flour, so, the next time, we’ll try substituting less than half of the refined flour.

For my convenience, I wrote down the ingredient list separately, divided into different parts that I needed to mix separately, so that I wasn’t staring at one long list!

Part 1: Make the Kishmish Merry

Cashews, Walnuts, Raisins, Almonds, Dates, Figs… Chop whatever dry fruits you have available and soak them in rum (or ornge juice) for a few days.

Store in an airtight container in the fridge if you’re soaking these for more than 2 days.

Part 2: Whisk the Creamy Ingredients

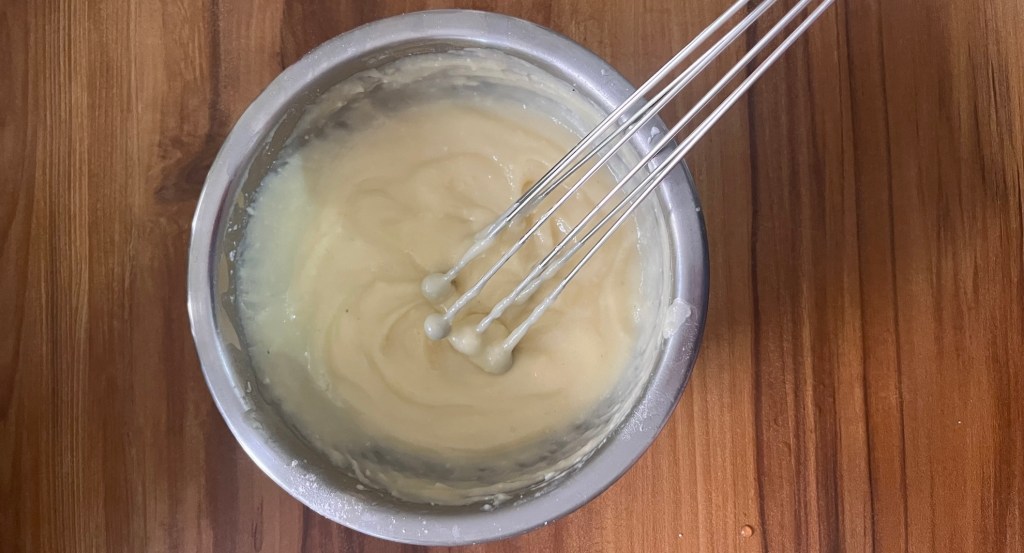
  • 1 cup Powdered Sugar
  • 1/2 cup Butter
  • 1/3 cup Curd

Time-Saving Tip: If the butter is hard, use a hot water “bath” to soften it. You can do this right at the beginning and while you wait for the butter to melt, you can gather the rest of the ingredients.

Part 3: Sift the Spicy Ingredients
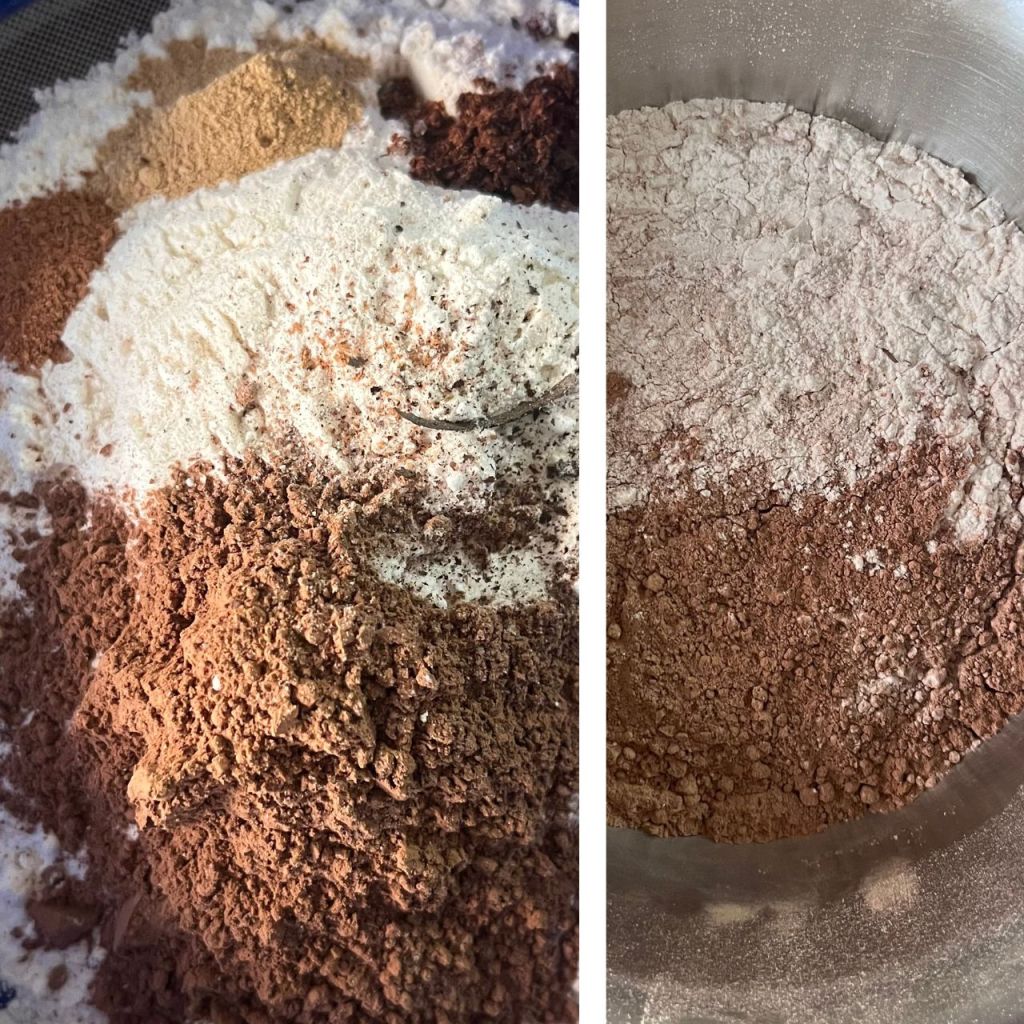
  • 1 cup Flour (Maida)*
  • 3/4 tsp Baking Powder
  • 1/4 tsp Baking Soda
  • 1/4 tsp Salt
  • 1 1/2 tbsp Cocoa Powder
  • 1/4 tsp Ginger Powder (Saunth)
  • 1/4 tsp Clove Powder
  • 1/4 tsp Cinnamon Powder
  • 1/8 tsp Nutmeg Powder

* For a slightly healthier version, you could experiment with about 20-30% of wholewheat flour instead of just refined flour. But at your own risk!

Part 4: Prepare the Curdled Milk

Adding vinegar to milk will split the milk. I’m still not sure if we should let it sit for a long time, so I do this at the end, lest I have any lumps of paneer in the cake!

  • 1/3 cup Milk
  • 1 tsp Vanilla Essence
  • 1 tsp Vinegar

Part 5: Let’s Get Everything Together!

Now that the ingredients are ready, we can prepare the cake tin and preheat the baking apparatus of choice (a home-style pressure cooker, a covered saucepan, an air fryer or an oven).

Grease the pan and line it with butter paper.

Note to self: Do not keep it inside the oven!

  1. Mix the sifted dry ingredients (part 3) with the creamy stuff (part 2)
  2. Add in the curdled milk (part 4) gradually.
  3. Add the merry fruits (part 1)
  4. Pour into the prepared cake tin. Tap a few times, and then place it inside the baking apparatus.
  5. Wait.

The time to cook varies depending on the temperature. I used an air fryer at 150 degrees C for 40 minutes.

If you’re using a hacked makeshift oven, then you may not be able to control the temperature, so keep a close eye so that the cake doesn’t get burnt or stay undercooked—I’m guilty of both!

Use a knife to check for doneness.

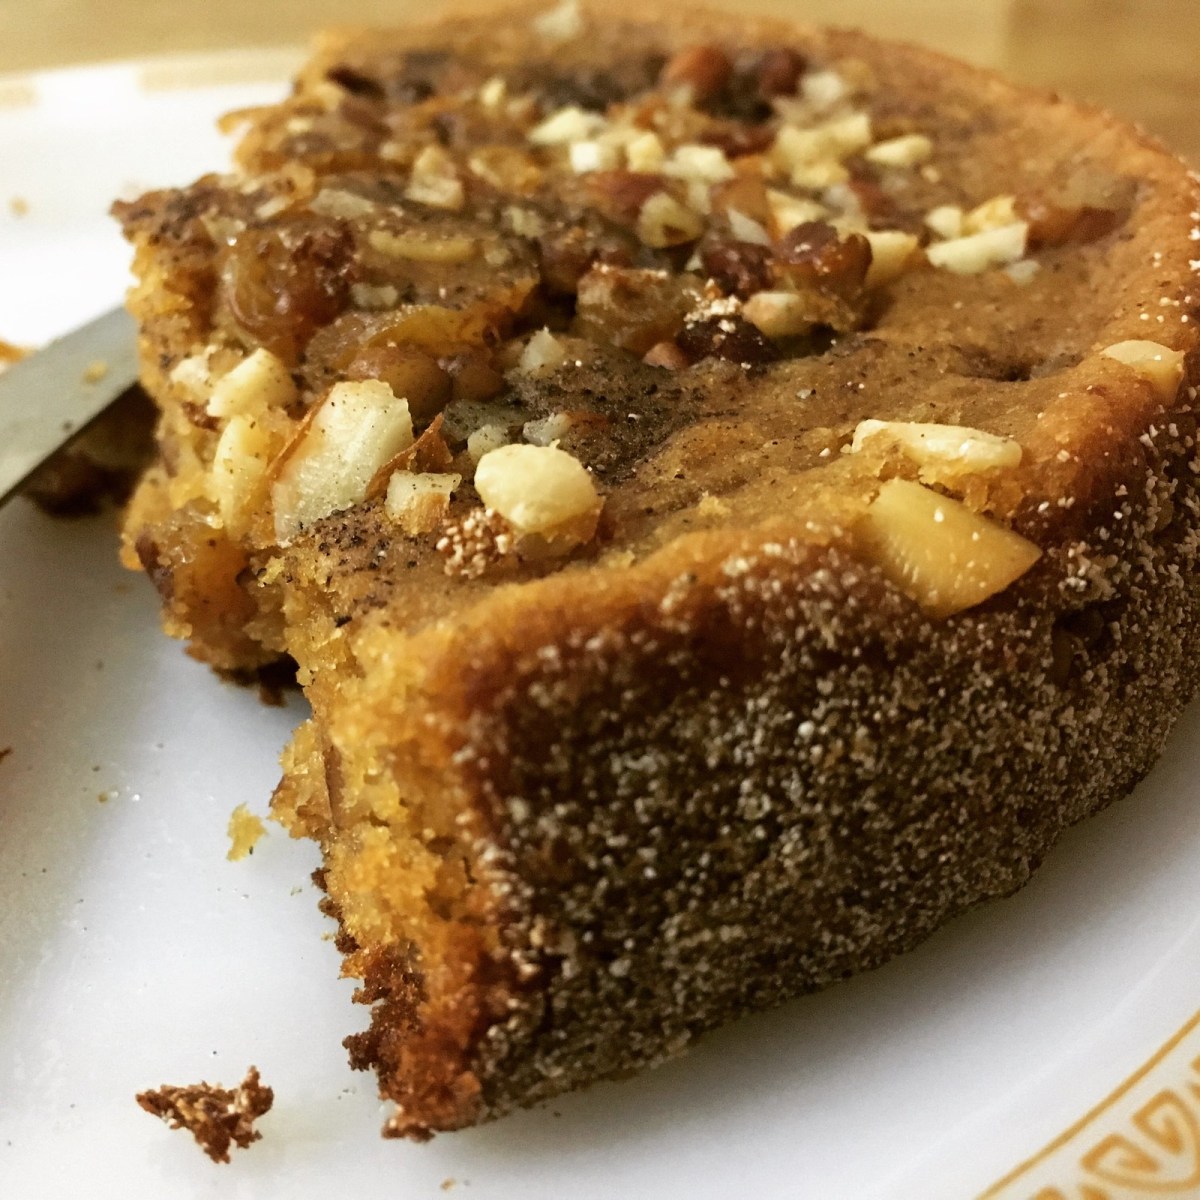
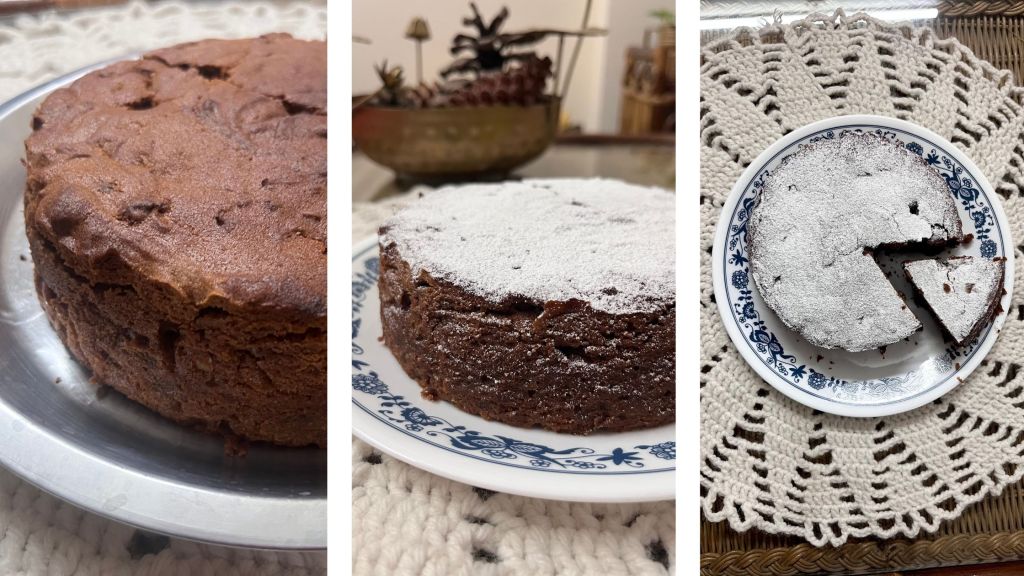
I had some extra powdered sugar left over, so I sieved it over the cake to give it a snowy look. But it will taste delicious even without that.

Enjoy!

How To Get the Measurements Right

The one thing I’ve learned through my little baking experience is that measurements matter! So, I followed the measurements of everything to the “T”.

The ingredients can broadly be categorised into two heads:

  1. The flavours: We can play with the flavours of the cake and freestyle them to taste. These include dry fruits, cocoa, spices and vanilla essence.
  2. The cake base: The wrong proportion of these ingredients can ruin the cake, and so these are absolutely non-negotiable. The flour, milk, curd, sugar and butter along with what I call the “baking potion”—the things that make the cake fluffy! The baking potion includes baking powder, baking soda, salt and vinegar.

Since I didn’t have any proper measuring equipment, I used a tiny medicine measuring cup to first figure out the capacity of the different bowls and glasses we had and used those utensils that best matched the following capacities:

  • 1 cup = 240 ml
  • 1/2 cup = 120 ml
  • 1/3 cup = 80 ml

The Inspiration

This recipe isn’t mine. It is adapted from recipes I found online, and modified to suit what we had available. Here is the original recipe from where I borrowed the measurements and ingredient list:

Previous Cake Experiments

The “Unrefined Cake”

A “Date” With a Cake

Categories
Hobbies

The ‘unrefined’ cake


For over three years now, we’ve tried to keep certain items out of our kitchen — refined flour and refined sugar. Refined flour was easy to keep out. Sugar, is a different matter — because we occasionally make sweet dishes, and guests shouldn’t be forced to drink sugarless tea or coffee. And so, we buy sugar, in the least possible quantity at such times, letting the stock remain in the kitchen cupboard.

A little over a year ago, we added another item to the no-stock list — refined oil. And I’m happy to report, I haven’t missed it at all. We now have a range of oils — mustard, sesame and coconut — to add richness to different dishes. And yes, there is white unsalted butter and homemade ghee.

Now, I love cake. And it seemed difficult to make cake without these three ingredients. I also didn’t have an oven, or a cake tin. My pressure cooker wasn’t big enough for a decent size bowl.

So, I did what everyone these days does — ask the internet. I found some makeshift alternatives for the baking apparatus and tried out a wholewheat recipe for my mother’s 60th birthday. It turned out decent.

There has been a pattern to some of my Instagram food posts — with friends asking for the recipe. And so, going forward, I’m going to start posting some recipes that I’ve tried out — for my friends, and my own future reference — with due credit to the original chefs, of course.

The credit roll

A big part of this recipe is borrowed from a recipe on YouTube by Piya’s Kitchen. I replaced some ingredients and the result was not so bad! I recommend going through the video for the original recipe.

Step 1: Going nuts

  • Chopped dry fruits of your choice (I used cashew, almonds, pecans, raisins and assorted berries)
  • 1/2 tbsp wheat flour

Coat the dry fruits lightly with flour to prevent them from sinking to the bottom and keep aside.

Step 2: Just beat it

  • 1/2 cup butter
  • 1/2 cup jaggery (I used honey — turns out, it gives the cake a richer colour)
  • 1/4 cup curd

Beat the ingredients till they form a smooth mixture and keep aside.

Step 3: Shaken, not stirred

  • 1 cup whole wheat flour
  • 1 tsp baking powder
  • 1/2 tsp baking soda
  • 1/4 tsp salt
  • 1/4 tsp cinnamon powder (or cardamom powder) for flavouring (skip this if using vanilla)

Sieve the dry ingredients together two times to ensure there are no lumps and they are nicely mixed.

Step 4: All mixed up

  • 1/2 cup milk

Fold the dry (step 3) and wet mixture (step 2) and add half of the milk.

If you’re using vanilla for flavouring, add 1 tsp in at this stage.

Add the chopped nut mixture (step 1) and the remaining milk.

Note: When mixing, make sure you stick with one direction; clock-wise or anti-clockwise, your pick — don’t ask me why.

Step 5: Time to bake!

Pre-heat the baking apparatus of your choice as you would normally do for any other cake: oven / pressure cooker / heavy-bottomed pan with lid. I heated a tawa on high flame for ten minutes.

Grease the baking tin (in my case, a saucepan) with butter and dust the greased tin with a little flour.

Pour the batter and tap gently to level the cake.

Garnish with more more nuts.

Place in baking apparatus (I placed the saucepan on the tawa and covered it with a glass lid so that I could see what was going on; and cooked it on low flame)

Cook for 45-50 minutes (or till you get the sweet scent of heaven)

Check if it’s done by inserting toothpick / knife – if it comes out clean, it’s cooked.

Patience, my friend — let it cool.

Transfer to a plate, and then, dig in!

Categories
Hobbies

A ‘date’ with a cake


Baking fascinates me — especially when the aroma of fresh cookies and cakes fills up the home.

Growing up, birthdays were made extra special with home-baked cake. I’d eagerly wait for my mother to whip up the cake batter. When she transferred the batter to the greased cake tin, I’d grow impatient. ‘Why are you being so thorough! Let me have the joy of cleaning that up!” As soon as the mixing bowl left her hands, I’d dip my finger to scrape out every last drop!

Unlike my mother, I have zero knowledge of what goes into baking. It’s the end result that truly matters (and the batter, yes!).

I find it hard to remember the chemicals involved in the process — is that baking soda or cooking powder — what proportion are they to be used and when should they be added, most importantly, what are the chances that the mixture will explode?

Most recipes are handed down generations, and when in doubt, I simply pick up the phone and ask, either my mother, or my mother-in-law; sometimes asking the same questions over and over. Thanks to the internet, I now also have advisors who don’t mind my asking the same questions repeatedly.

With the help of the food blogging community, I have got answers to some questions, such as, “what if I want to bake a cake without eggs… and without refined flour?” and “what if I don’t have an oven, and what if I’m off refined sugar too?” And I think to myself, how did people remember recipes before the internet?

I posted a few pictures of my experiments with different types of cake and some friends asked me for the recipes. This gave me an opportunity to document my own scribbled notes for future reference.

But first, the credit roll

The original recipe for this cake is by the food blogger / YouTuber ‘Hebbar’s Kitchen’. I replaced some of the ingredients with what was available with me, and it worked out just fine!

If you’d like to see a detailed step-by-step process, I recommend visiting the website, or better yet, check out the YouTube video.


And now, here’s my version:

Step 1: Soak ’em up

  • 2 cups of dates, without the seeds
  • 1 cup hot milk

Soak the dates in hot milk for half an hour. In the meanwhile, read ahead, gather up the rest of the ingredients and then soak yourself up under the winter sun.

After half an hour, blend the soaked dates and milk into a fine paste.

Step 2: Going nuts

  • Handful of your favourite dry fruits
  • 1/2 tbsp wheat flour

Coat the dry fruits lightly with flour to prevent them from sinking to the bottom of the batter

Step 3: Just beat it

  • 3/4 cup unsalted butter
  • 1/4 cup curd

Beat the ingredients till they form a smooth mixture

Combine with the date paste from step 1 and mix well

Step 4: Shaken, not stirred

  • 2 cups whole wheat flour
  • 1 tsp baking powder
  • 1/2 tsp cooking / baking soda
  • 1 pinch salt

Sieve all the dry ingredients together

Step 5: All mixed up

  • 1/2 cup milk

Mix the date paste (step 3) with the flour mixture (step 4)

Add milk, mix well

Add the chopped dry fruits (step 2) and mix lightly

Step 6: Time to bake!

  • Pre-heat the baking apparatus of your choice as you would normally do for any other cake for ten minutes.
  • Grease the baking tin with butter and dust the greased tin with a little flour.
  • Pour the batter and tap gently to level the cake.
  • Garnish with more more nuts, as per taste.
  • Place in baking apparatus.
  • Cook for 45-50 minutes (or till you get the sweet scent of heaven).
  • Check if it’s done by inserting toothpick / knife – if it comes out clean, it’s cooked.
  • Patience, my friend – let it cool.
  • Transfer to a plate, and then, dig in!

Coming up in the next post, the very first cake I baked, without an oven or pressure cooker.